A valve that is slightly out of position can make a healthy pool look as though it has a major problem. Weak skimmer suction, a noisy pump, air bubbles at the returns or a spa that will not circulate properly often come down to one small handle near the equipment pad. Knowing how to inspect pool valves helps you spot simple issues early, protect your pump and keep the water thoroughly clean between professional visits.
Most homeowners do not need to dismantle valves or adjust every setting. The goal is to understand what each valve controls, look for signs of wear and recognize when an apparent valve problem needs a pool professional.
Start safely before inspecting pool valves
Turn the pump off at the timer, automation panel or breaker before touching any valve. This is particularly important if you are checking a multiport valve on a sand or DE filter. Moving a multiport handle while the pump is running can damage the internal gasket and send debris back into the pool.
Give the equipment a minute to stop completely. If the system has been running, avoid leaning over the pump lid or opening any pressurised plumbing. A normal visual inspection does not require removing fittings, loosening unions or taking apart a valve body.
Take a quick photograph of the equipment pad before making any adjustment. It gives you a reliable reference point if you need to put a handle back where it was. This small habit is especially useful on pools with separate spa, water-feature, cleaner or heater lines.
Know what your pool valves control
Pool plumbing generally has two sides. Suction-side valves sit before the pump and determine where water is drawn from. They may control the skimmer, main drain, vacuum line or spa drain. Return-side valves sit after the filter and heater, directing cleaned water back to the pool returns, spa jets, waterfall or other features.
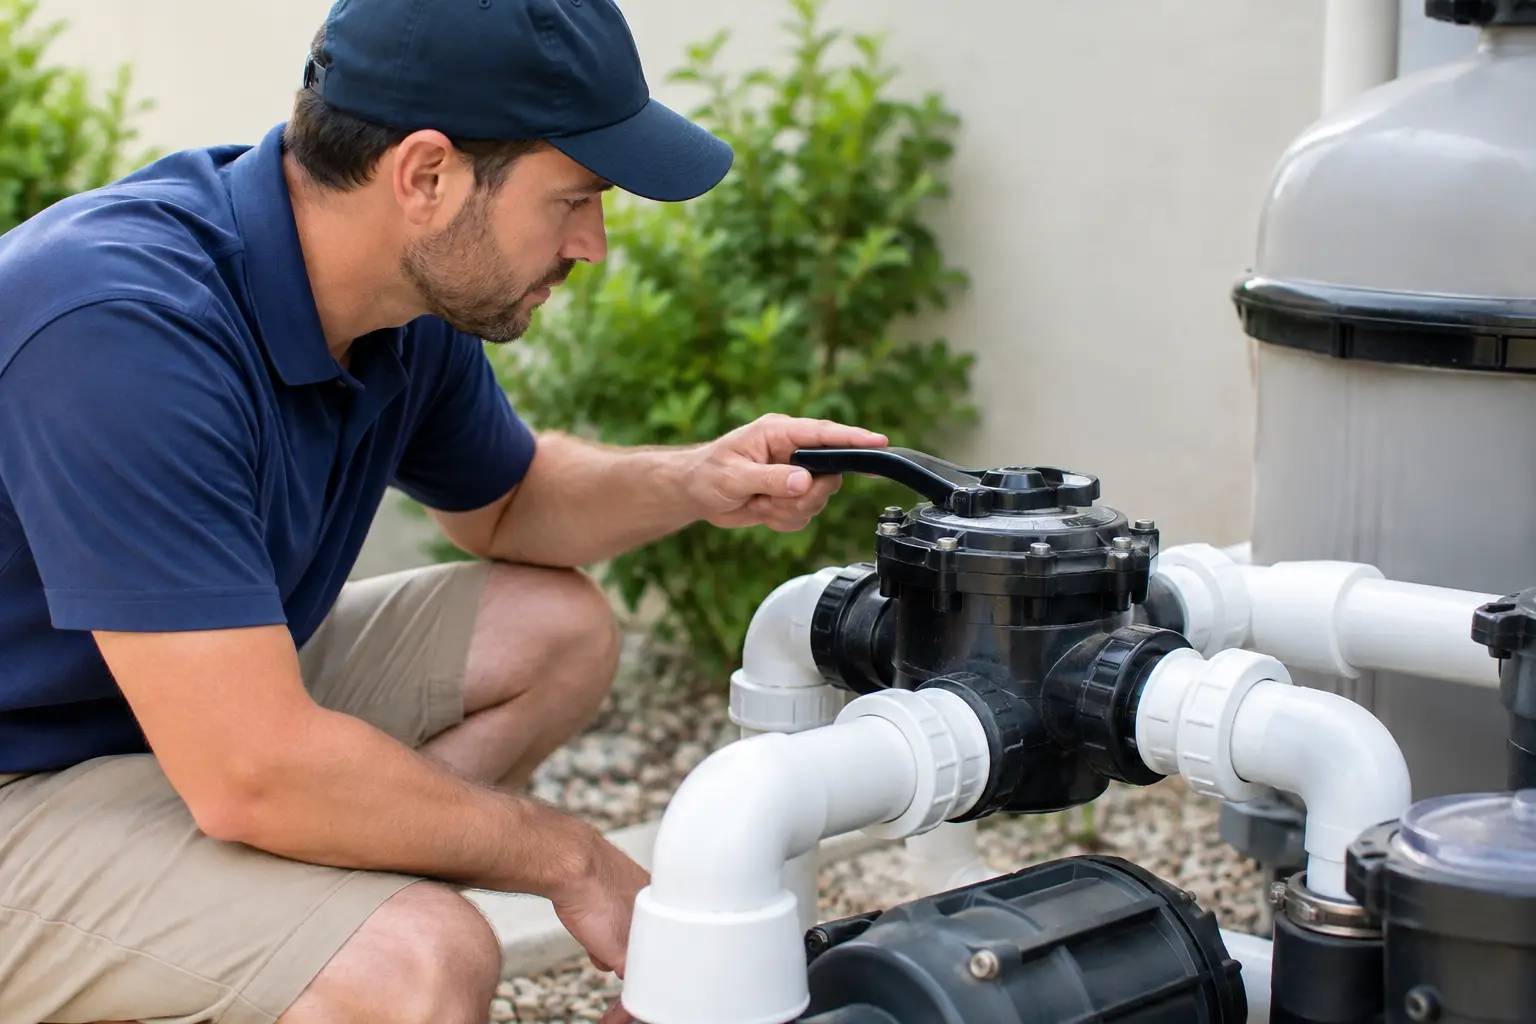
A typical three-way diverter valve has a round lid and a handle on top. It combines or separates two plumbing lines. The position of the handle and the marked ‘OFF’ indicator show which port is restricted. Do not assume the handle points towards the active line without checking the markings on that specific valve.
You may also see simple ball valves, usually with a straight lever handle. When the handle is parallel with the pipe, the valve is normally open. When it is perpendicular, it is normally closed. Check valves are different again: they have no operating handle and allow water to travel in only one direction. They are often fitted near raised spas, chemical feeders and certain water features to prevent backflow.
Finally, many Florida pools have a multiport valve attached to the filter. Its settings may include Filter, Backwash, Rinse, Waste, Recirculate and Closed. For everyday operation, it should normally be set to Filter. This is not a valve to experiment with casually, as the wrong setting can lower water level quickly or bypass filtration.
A practical pool valve inspection checklist
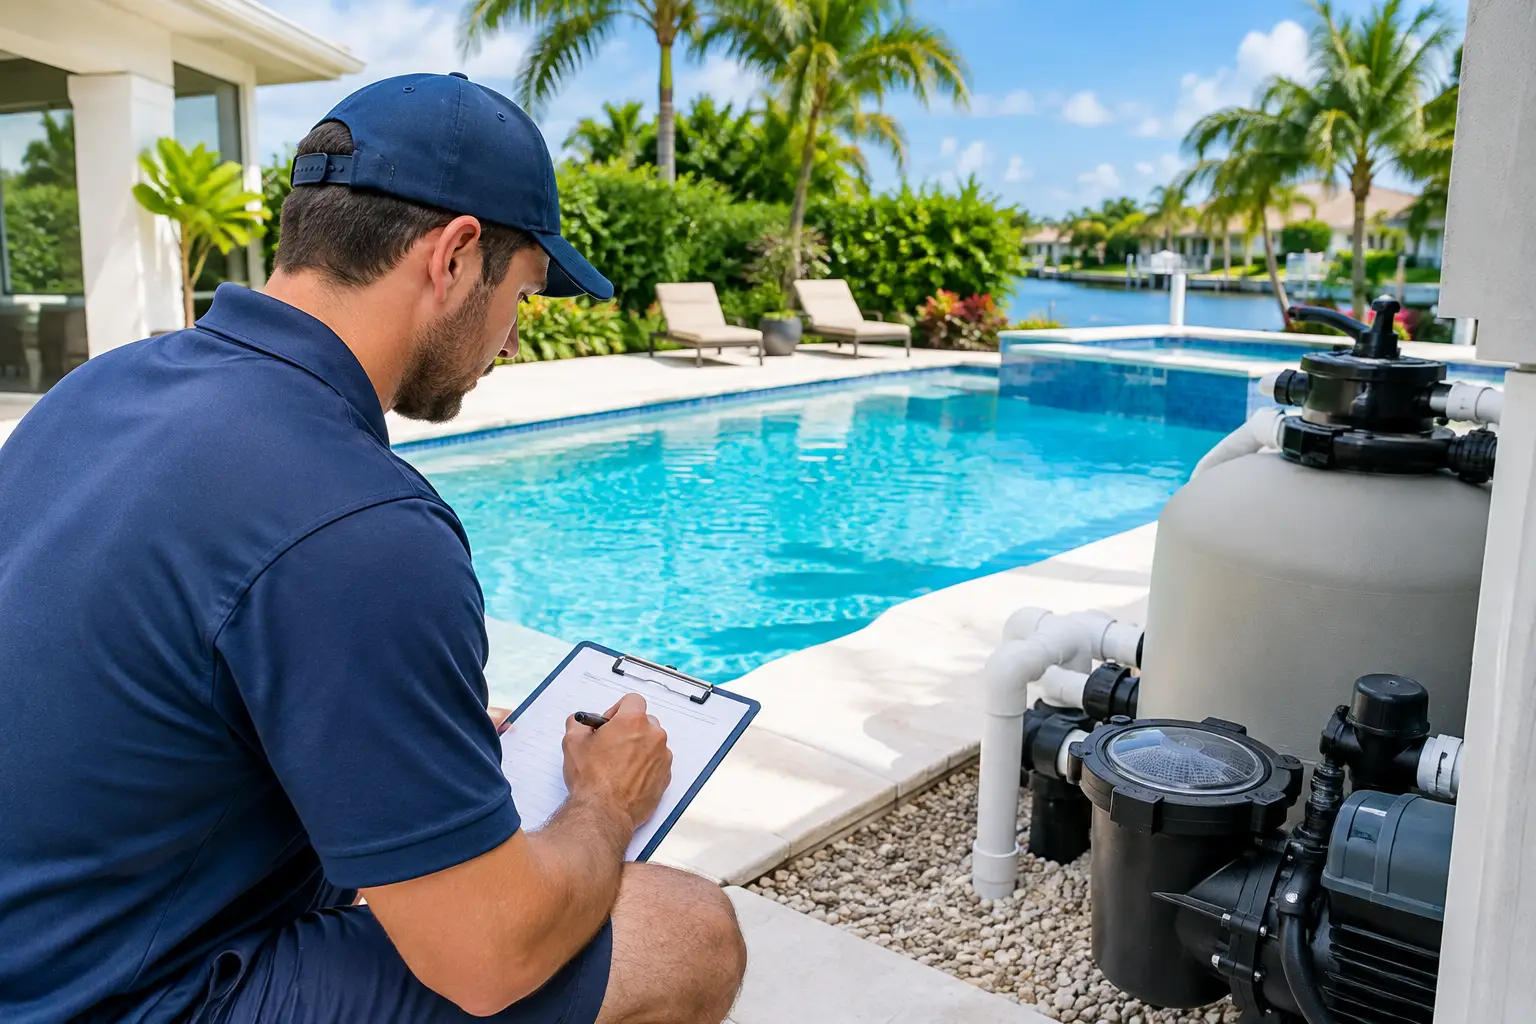
With the system switched off, inspect each visible valve slowly rather than changing settings straight away. You are looking for evidence of leakage, stiffness, incorrect positioning or damage.
- Look around valve lids, stems, unions and glued pipe joints for drips, white mineral staining, green residue or damp soil beneath the equipment. A small leak can draw air into the system or worsen over time.
- Check handles for cracks, missing screws, loose movement and faded position markings. A handle that turns without changing flow may have a damaged internal diverter.
- Inspect the valve body for sun damage, warping or hairline cracks. South Florida heat and UV exposure are hard on older plastic components, particularly on equipment pads without much shade.
- Confirm that valves serving normal pool circulation are not fully closed by mistake. A pump needs adequate water flow, and closing too many suction lines can cause cavitation, overheating and poor filtration.
A little surface discolouration is not always a concern. Constant moisture, mulch and normal weathering can mark PVC fittings. What matters is whether you see active dripping, recurring wetness, a falling pool water level or a reduction in circulation performance.
Check valve positions without guessing
If the pool was working well before your inspection, leave the valve settings alone unless one is clearly in the wrong position. A common mistake is closing the main drain entirely because it is assumed to be unnecessary. Another is shutting off the skimmer while leaves are still entering the pool. Both can reduce the system's ability to keep the water clear.
For a standard pool-only system, the skimmer and main drain are often partially open together. The exact balance depends on plumbing design, pool water level and whether a manual vacuum is connected. When vacuuming through the skimmer, the main drain may be partly restricted temporarily to improve suction. Once vacuuming is finished, it should be returned to the normal operating position.
If your pool has a spa, keep in mind that ‘pool mode’ and ‘spa mode’ require coordinated changes to both suction and return valves. Sending water to the spa while still pulling suction mainly from the pool can overflow the spa. Pulling from the spa while returning to the pool can drain it. Automated actuators handle these changes electronically, but manual valves need careful alignment.
Restart the system and watch the results
After a visual inspection, return the pump to its usual schedule and observe it for several minutes. The pump basket should fill with water and remain mostly full. A brief burst of air at the returns after the pump starts can be normal, especially after cleaning the basket. Persistent bubbles are not.
Listen for a rattling, surging or gravel-like sound from the pump. This can indicate restricted water flow or air entering on the suction side. Also look at the filter pressure gauge. Every pool has its own normal clean-filter pressure, so the useful comparison is with the usual reading recorded after a service or cleaning.
Walk back to the pool and check the returns. You should see steady movement at the surface and feel consistent flow from the return fittings. Weak flow may be caused by a valve position, but it can also be caused by a dirty filter, clogged pump basket, blocked skimmer basket, failing pump or an issue with the pool cleaner line. Valve inspection is the first check, not an automatic diagnosis.
When not to force a pool valve
A valve should move with firm but reasonable pressure. If it is stuck, do not use pliers, lean your body weight on the handle or spray random lubricants into the mechanism. A brittle handle can snap, and turning a seized diverter can damage the internal seal or plumbing connection.
Do not attempt to repair a leaking multiport valve, replace a check-valve flap or open glued PVC plumbing while the system is full of water and under pressure. These jobs may require isolating lines, replacing seals or cutting and re-plumbing fittings correctly. The repair itself is often straightforward for a trained technician, but an improvised fix can create a much larger leak at the equipment pad.
Call for service if you find a cracked valve body, steady leak, a valve that will not hold position, repeated air in the pump basket, unexplained loss of water, or a pump that loses prime after switching off. These symptoms can overlap, and identifying the real cause early helps prevent pump damage and wasted water.
Make valve checks part of routine pool care
Inspect the equipment pad visually once a month and after heavy storms, landscaping work or any changes to your pool routine. Keep leaves, mulch and standing water away from valves and the pump area so you can identify a fresh leak quickly. If you have children, visitors or a home service provider using the pool, a simple photo of normal valve positions can also prevent accidental adjustments.
For homeowners in Wellington, Royal Palm Beach, Westlake and nearby Palm Beach County communities, summer rain and year-round pool use make consistent circulation especially valuable. A weekly service visit is an ideal time to catch minor valve, pump and filter concerns while they are still manageable. Turtle Pool Care documents equipment observations alongside the cleaning and chemistry work, giving homeowners a clearer picture of how their system is performing.
A pool valve is a small part with a big job: it directs every gallon your pump moves. Treat it gently, check it regularly and ask for help before a minor drip or stiff handle turns into a no-circulation day when the family is ready to swim.