A pool can turn from clear blue to cloudy green surprisingly quickly after heavy rain, a missed service visit, failing circulation or a run of hot weather. This water restoration example follows the kind of recovery process a Palm Beach County homeowner may need when the pool is no longer safe or inviting to use.
The goal is not simply to make green water look better for a day. Proper restoration removes the algae causing the problem, corrects the chemistry that allowed it to grow, and checks whether the equipment can keep the water clean afterwards. That is how a pool gets back to being properly turtly clean - clear, safe and ready for family time.
Water restoration example: from green to swim-ready
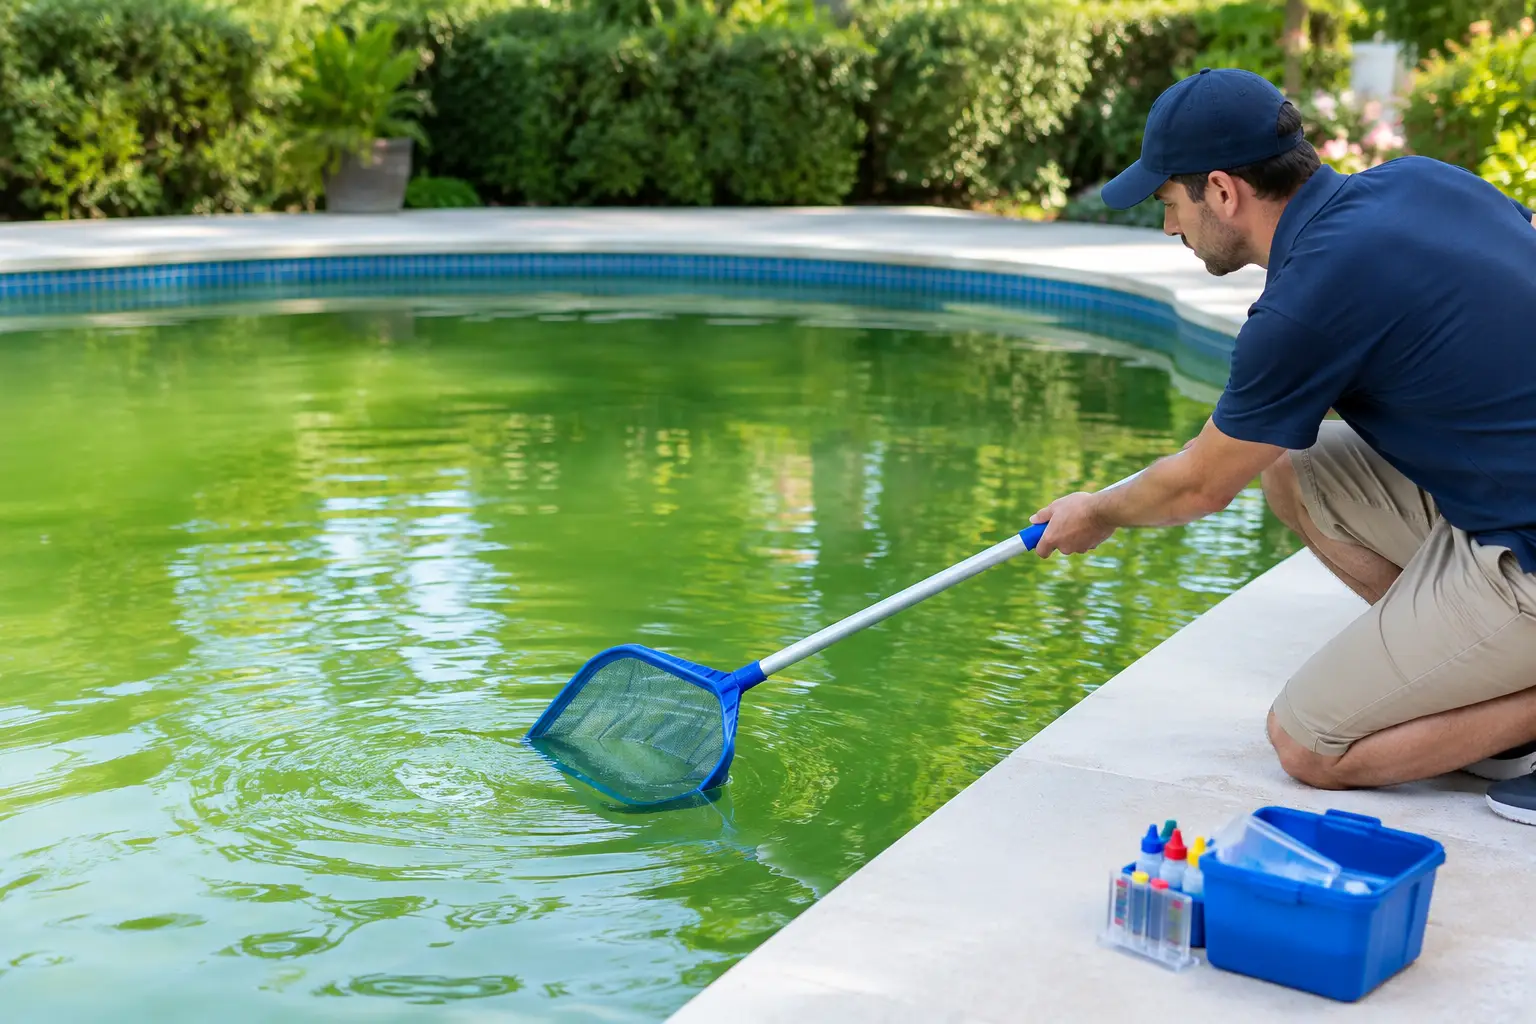
Imagine a residential pool in Royal Palm Beach after a summer storm period. The homeowner notices a light green tint at first, then cloudy water and slippery patches along the steps. The pump is running, but the skimmer basket is full of leaves, the filter pressure is higher than usual, and regular chlorine has been added without improving the water.
At this stage, pouring in more chemicals at random can create a second problem. Chlorine works best within the right balance of pH, alkalinity and stabiliser. If the pH is too high, for example, the chlorine may be present but far less effective against algae. If the filter is clogged or circulation is poor, dead algae and debris remain in the water instead of being removed.
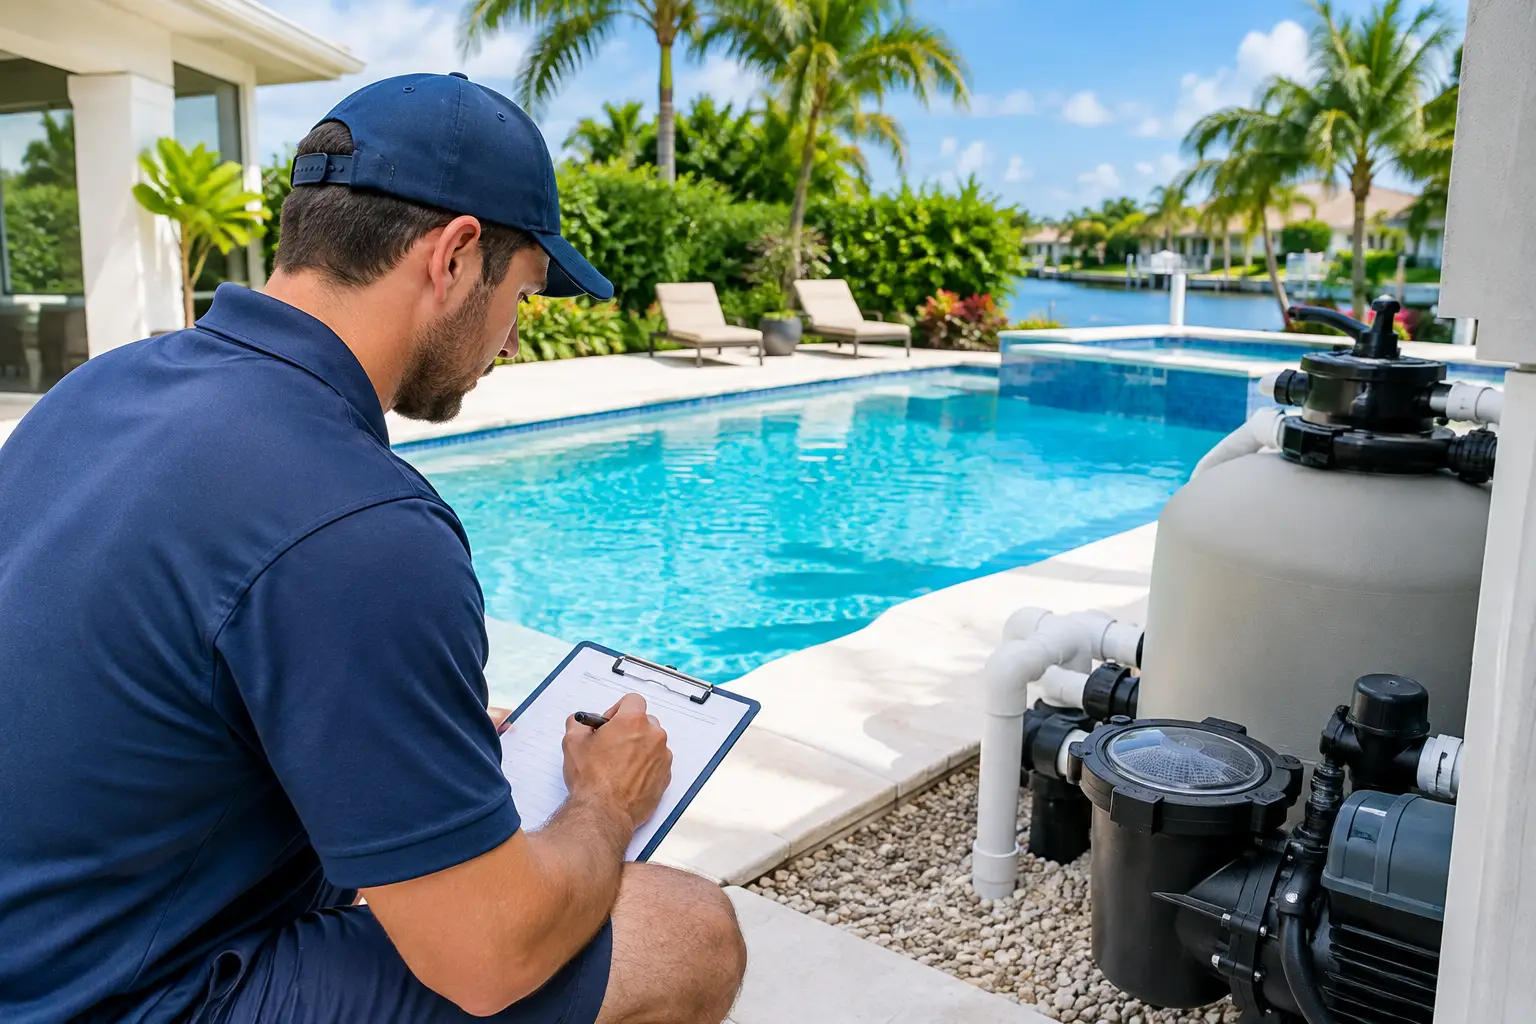
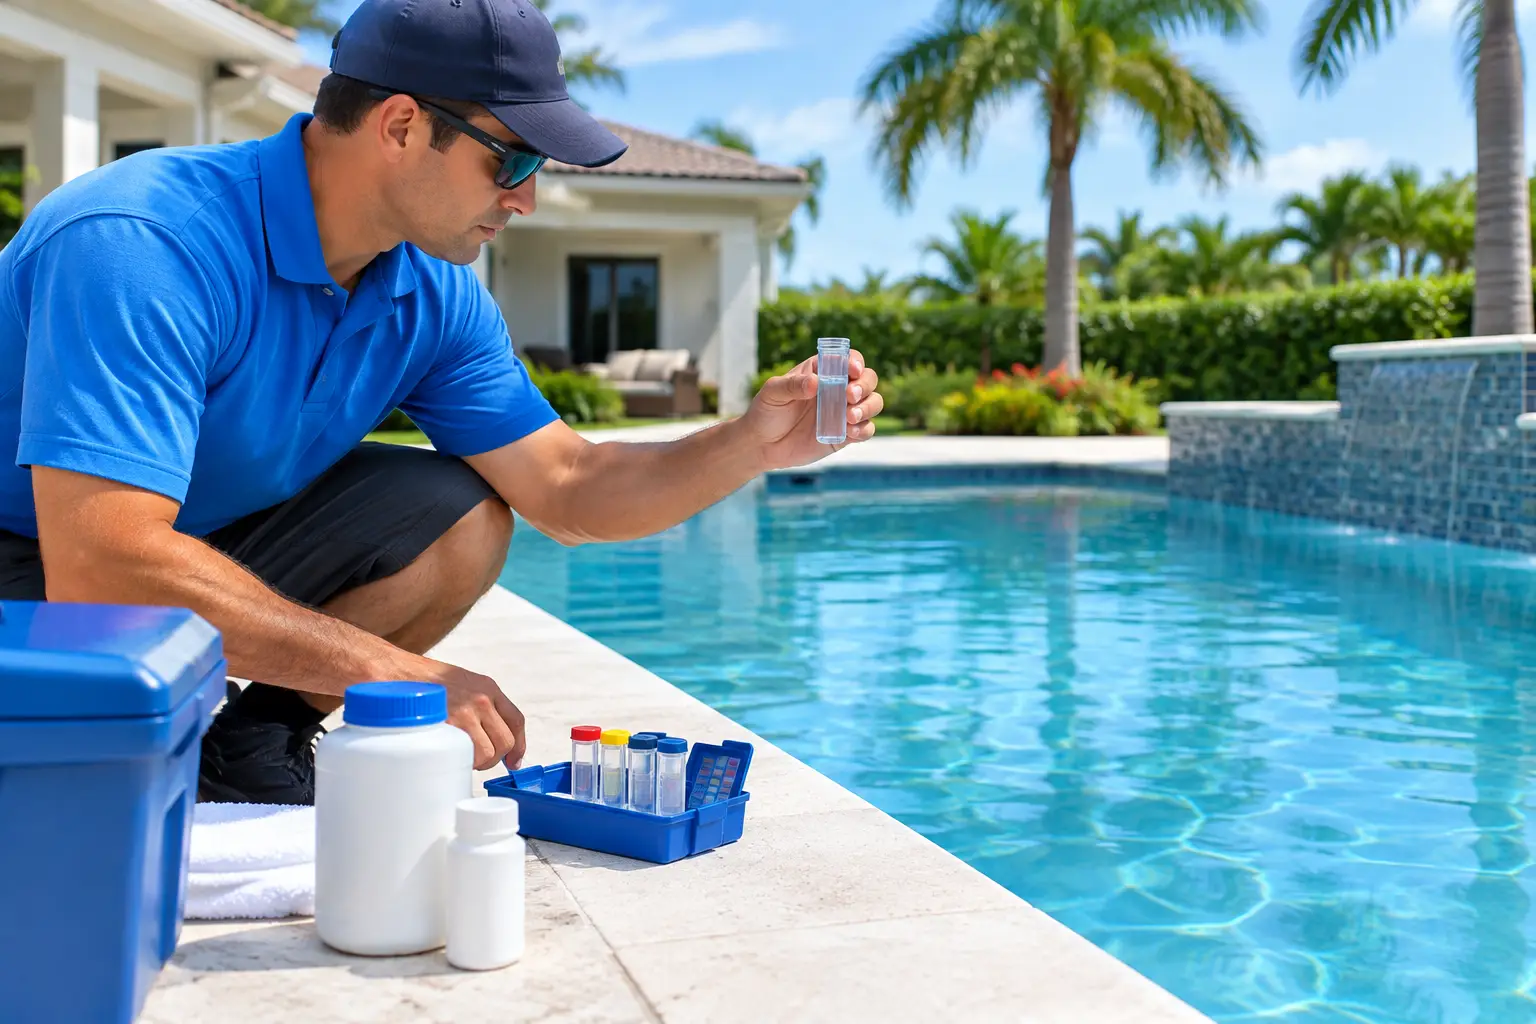
A professional restoration starts with an inspection and measured testing rather than a quick visual fix. The water’s chlorine level, pH, total alkalinity, calcium hardness and stabiliser level should be checked. The technician also looks at the water color, clarity, walls, steps, fittings, baskets, pump operation and filter condition.
Step 1: Remove debris and restore circulation
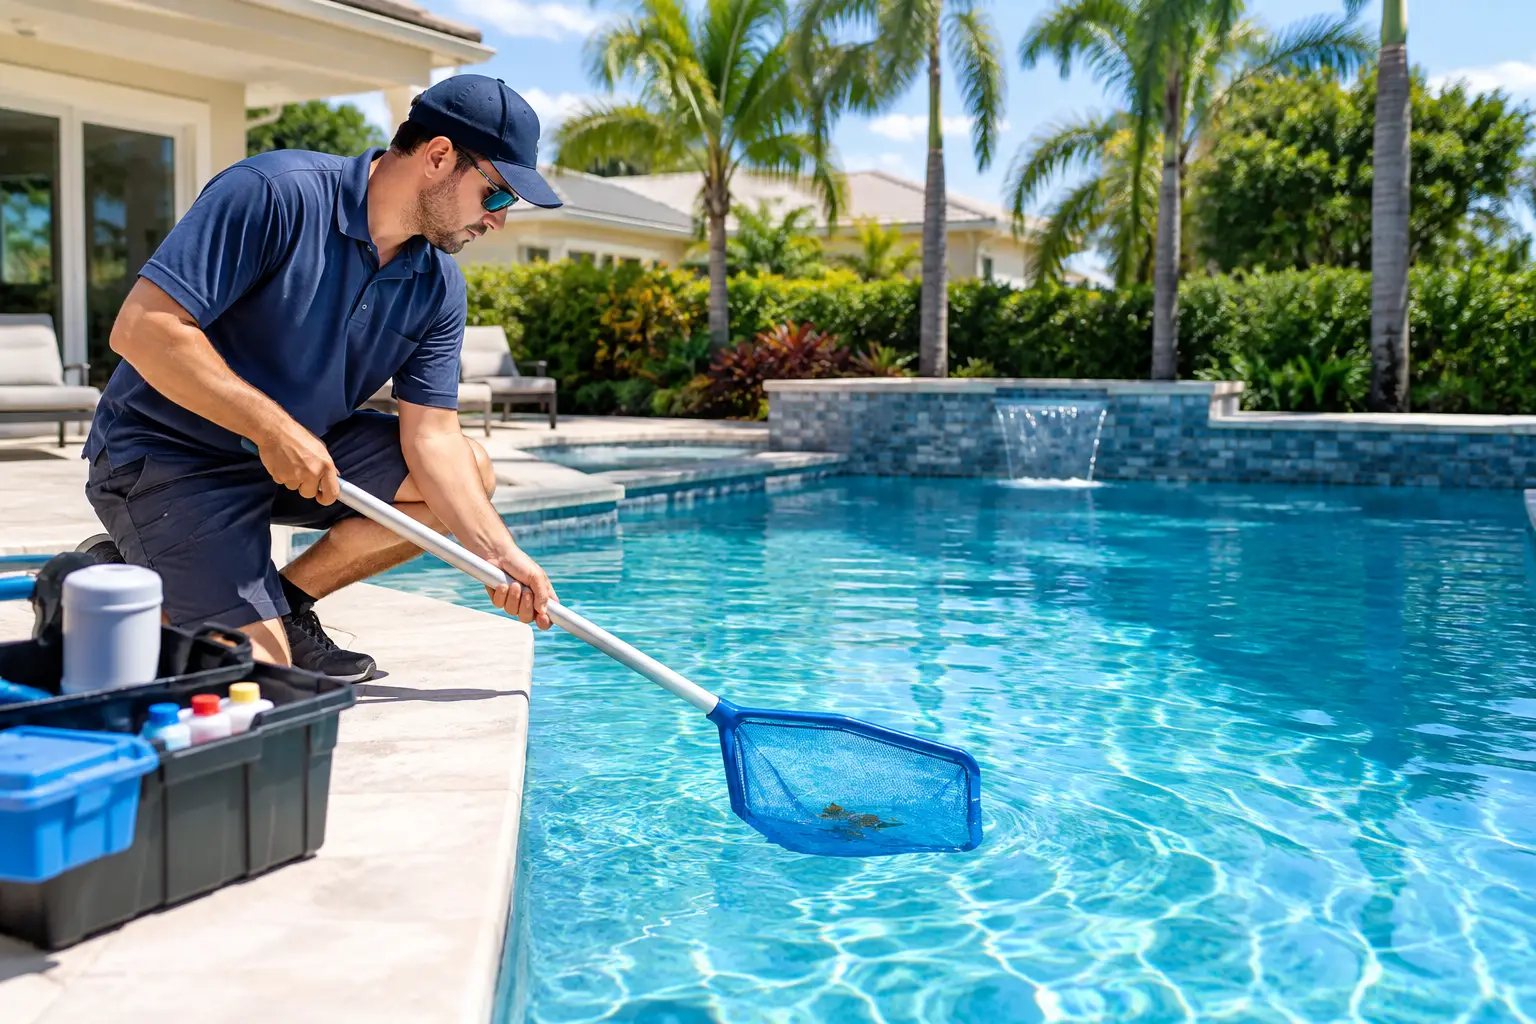
The first hands-on task is to remove leaves, seed pods and other organic debris from the surface, floor and baskets. Debris consumes sanitizer as it breaks down, adds phosphates that can feed algae, and can restrict water flow through the system.
Next comes the equipment check. The pump needs to prime correctly and move enough water. Valves need to be open in the proper positions, and the filter needs cleaning or backwashing when pressure indicates it is loaded. Depending on the pool and the severity of the bloom, the system may need extended running time during recovery.
This step matters because chemical treatment without circulation is unreliable. A pool may appear clearer near the return jets while algae remains in quiet corners, on steps or at the deep end.
Step 2: Balance the water before treatment
In this example, testing reveals elevated pH, low free chlorine and a filter struggling with built-up debris. The pool is not treated with a one-size-fits-all dose. Chemistry is adjusted in the correct order so the sanitizer can do its job safely and efficiently.
The exact treatment depends on the test results and pool volume. A pool with slightly dull water after rain requires a different approach from one with dark green water, visible algae on the walls and no measurable chlorine. Likewise, a salt pool, a pool with a heater, and a newly resurfaced pool all require specific care.
For new plaster, aggressive treatment or unsuitable chemistry can affect the curing surface. That is why a new or recently resurfaced pool should follow a structured start-up program rather than the same recovery plan used for an established pool.
Step 3: Treat the algae and brush every surface
Once the balance supports effective sanitising, algae treatment begins. Brushing is part of the job, not an optional extra. Algae forms a protective layer on plaster, tile, steps and behind ladders, so brushing exposes it to the treatment and helps prevent it from settling back into the surface.
The pool may become cloudier before it becomes clear. That is often a sign that algae is being killed and suspended particles are moving through the filter. It is not necessarily a failure, but it does mean the recovery is not finished.
For a mild green pool caught early, restoration may take a day or two with close monitoring. A heavily contaminated pool can take longer, particularly if the filter is undersized, worn out or unable to capture fine debris. There is a trade-off here: rushing to swim before water is clear and balanced may expose swimmers to poor sanitation and can undo the treatment progress.
Step 4: Vacuum out what the treatment leaves behind
As algae dies, it often settles as grey, green or brown sediment on the floor. This material needs to be vacuumed out, with the right method determined by the filter type and the amount of debris present. Leaving it in place allows it to circulate again and places more demand on the filter.
In our water restoration example, the pool receives repeated brushing, vacuuming and filter attention until the floor is visible and the water changes from green to a cloudy blue. That cloudy-blue stage is encouraging, but the pool is still not ready for swimmers. Clarity and confirmed chemistry are the final checks, not just color.