A pool can look crystal clear while its calcium level is quietly working against the surface, tile, heater, and plumbing. Knowing how to test pool calcium gives you an early warning before scale forms on equipment or aggressive water begins pulling minerals from plaster. It is a small test with a big role in keeping your water safe, balanced, and turtly clean.
What pool calcium testing actually measures
A pool calcium test measures calcium hardness, usually reported in parts per million (ppm). Calcium is naturally present in water, and the right amount helps water stay in balance. Too little calcium can make water chemically hungry. Too much can encourage cloudy water, rough deposits, and scale inside equipment.
Calcium hardness is not the same as total hardness. Total hardness may include magnesium and other dissolved minerals, while pool care decisions are generally based on the calcium hardness result. Be sure the test kit or digital tester you use specifically reads calcium hardness.
The right target depends on the pool finish and the rest of the water chemistry. A common working range for plaster and other cement-based surfaces is roughly 200 to 400 ppm. Fiberglass and vinyl-lined pools often operate comfortably at lower levels, commonly around 150 to 250 ppm. Your pool builder, finish manufacturer, or service professional may specify a different target, especially for a new or recently resurfaced pool.
When to test pool calcium
For most established residential pools, testing calcium hardness monthly is a sensible routine. Test more often when you are filling the pool, correcting a water-balance issue, seeing white buildup, or starting up a new or resurfaced pool.
In western Palm Beach County, heat, rain, evaporation, and frequent top-offs can all change the chemistry picture. Evaporation leaves dissolved calcium behind, so calcium hardness can gradually rise even when a pool receives no calcium product. A large water replacement can shift the level in either direction, depending on the source water.
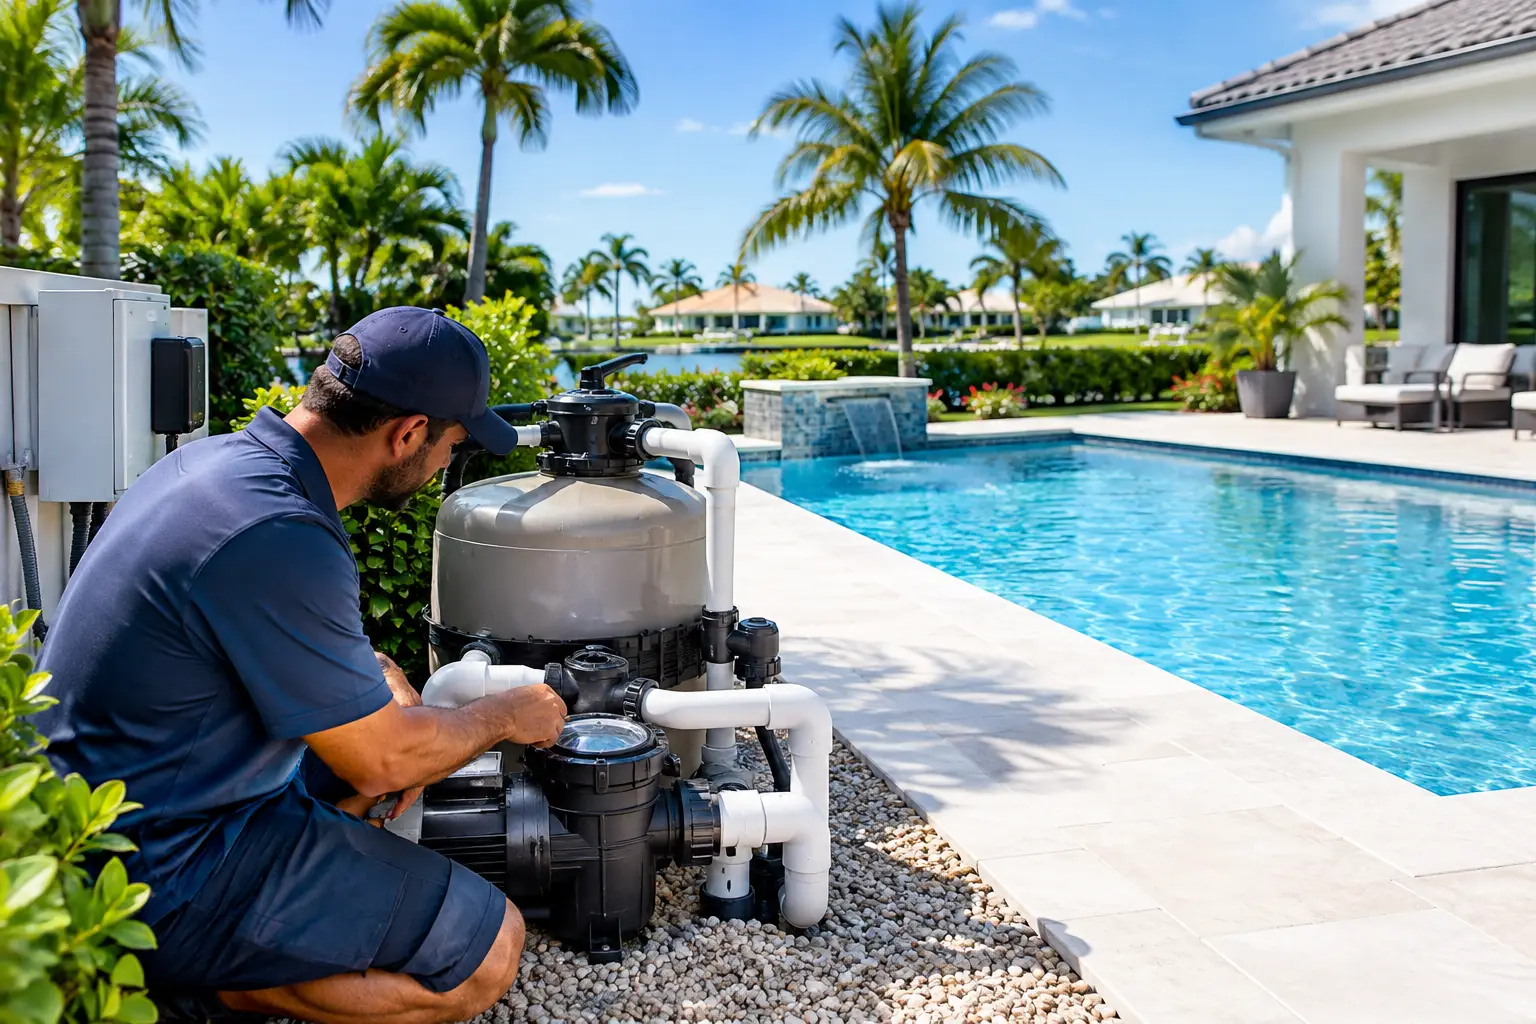
Calcium deserves extra attention if you have a heater or heat pump. Warmer surfaces inside equipment make scale more likely when calcium, pH, alkalinity, and water temperature are all trending high. A clean-looking pool is not always a scale-free pool.
How to test pool calcium with a drop kit
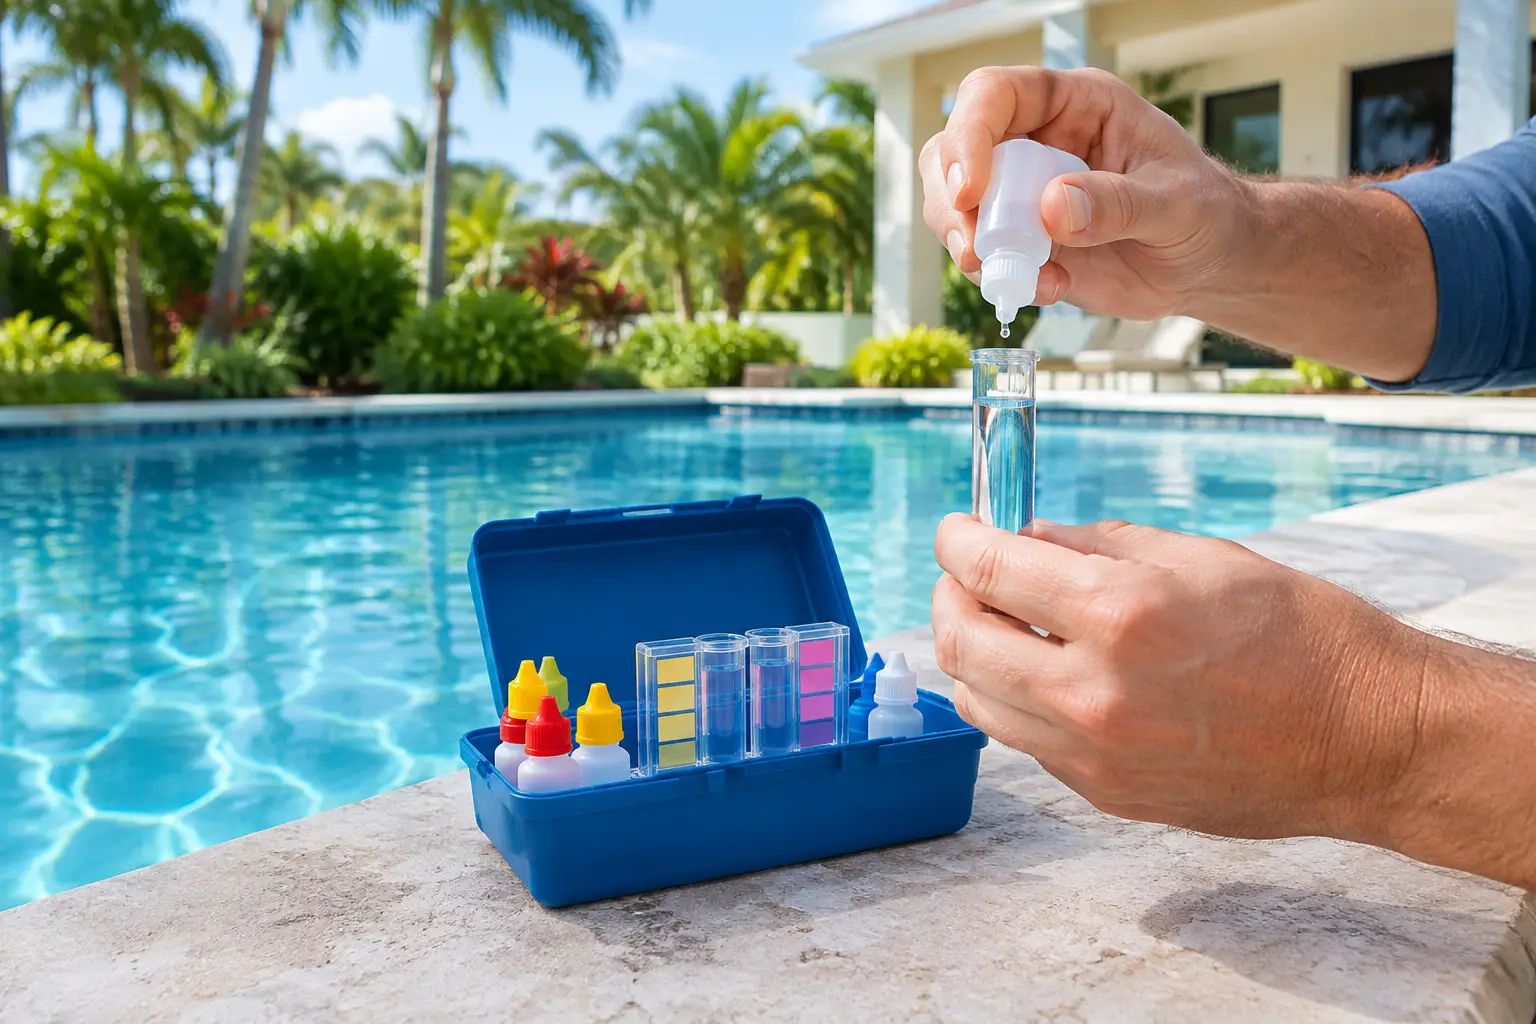
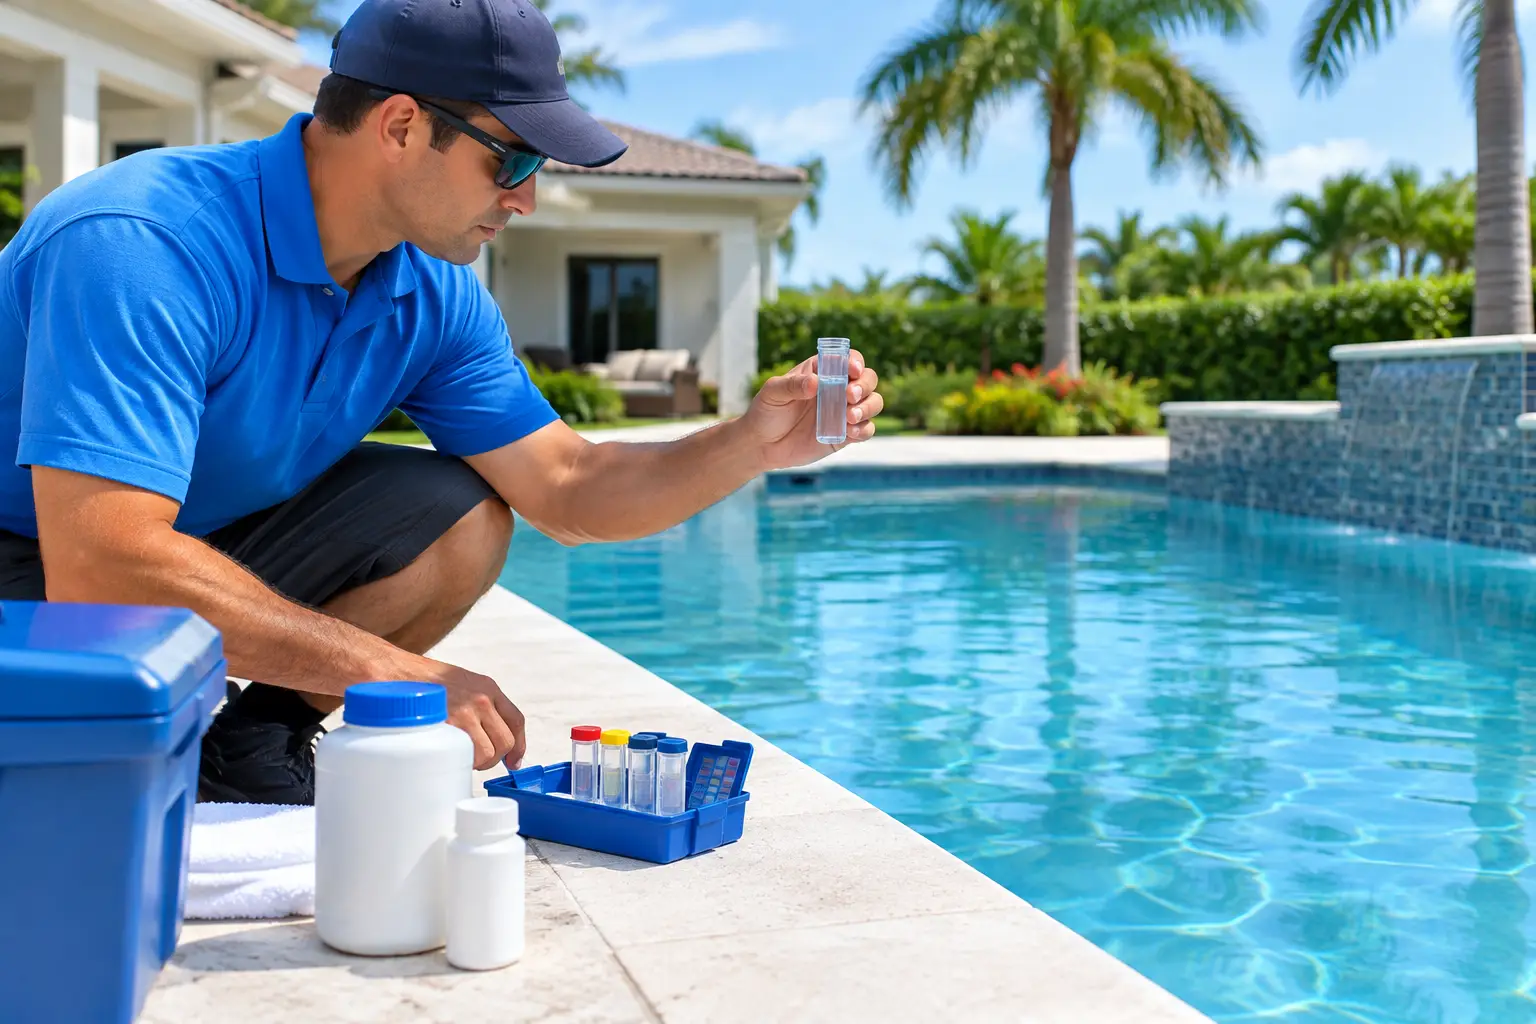
A liquid drop-count test kit is usually the most dependable at-home method for calcium hardness. Test strips are useful for a quick broad check, but their calcium reading can be harder to interpret precisely. If a strip suggests the calcium is high or low, confirm it with a quality drop kit or professional water test.
Before you begin, check that the reagents are in date and have been stored out of direct sun and extreme heat. Old or heat-damaged reagents can produce misleading results - a frustrating problem when the numbers otherwise seem reasonable.
Follow the instructions that came with your specific kit, since sample volumes and drop values vary. The general process is straightforward:
- Rinse the testing vial with pool water, then collect a fresh sample from elbow depth. Avoid taking water right beside a return jet, skimmer, or chemical feeder.
- Fill the vial to the marked line. Add the buffer or first reagent specified by the kit, then swirl gently.
- Add the indicator reagent. The water will turn a starting color, often red or pink, if the test is proceeding normally.
- Add the titrant one drop at a time, swirling between drops and counting carefully. Stop when the sample reaches the kit's final endpoint color, commonly blue or purple.
- Multiply the number of titrant drops by the factor printed in the instructions. That calculation is your calcium hardness in ppm.
A slow, steady pace matters near the color change. If you add several drops at once, it is easy to overshoot the endpoint and record a falsely high result. Hold the bottle vertically so the drops are consistent, and write the result down before moving on to the next test.
If the color change is faint or confusing, repeat the test with a new sample. Good lighting helps, but direct bright sunlight can make subtle endpoint colors difficult to see. Do not guess at a result that seems unusual. A second test often reveals whether the first sample, count, or reagent was the issue.
Read calcium alongside the rest of your chemistry
Calcium hardness cannot be judged in isolation. A pool with 350 ppm calcium may be perfectly comfortable when pH, total alkalinity, temperature, and dissolved solids are in range. That same calcium level can become scale-forming when the pH and alkalinity run high, particularly in warm water.
Likewise, a lower calcium number may require more attention in a plaster pool than in a vinyl-lined pool. The surface type changes the risk. Plaster contains calcium-based material, so overly soft or aggressive water can contribute to surface etching and deterioration over time.
When reviewing a calcium test, also look at pH, total alkalinity, sanitizer level, water temperature, and the pool's finish. Pool professionals often use a saturation index calculation to see whether the combined chemistry is likely to be scale-forming, balanced, or corrosive. This is why a single “perfect” calcium number does not fit every pool.
Signs calcium may be out of balance
High calcium hardness often shows up as white or gray deposits along the waterline, on tile, around fittings, or inside a salt cell. Water may look dull or cloudy even after filtration and sanitizer levels are corrected. Scale can also reduce the efficiency of heaters and restrict water movement through equipment over time.
Low calcium can be less obvious at first. In plaster pools, you may notice etching, rough patches, fading, or a surface that feels less smooth than it once did. Low-calcium water can also contribute to corrosion concerns, especially when other chemistry readings are out of range.
These signs are clues, not a diagnosis on their own. White deposits can be scale, but they can also be residue from other sources. Surface changes can have more than one cause. Accurate water testing and a close look at the pool finish and equipment provide a much clearer answer.
What to do after the test
If calcium is slightly outside the desired range, avoid reacting with a large chemical adjustment. First, confirm the result and review the full set of water readings. pH and alkalinity corrections may improve the overall balance without changing calcium hardness at all.
When calcium is low, a pool professional may recommend a measured calcium hardness increase that suits the pool's finish and current chemistry. Adding too much too quickly can create cloudiness or scale risk, so this is not a place for guesswork. Keep chemicals dry, use the product label exactly as directed, and never combine pool chemicals.
High calcium is more complex because calcium does not simply evaporate or get used up. Depending on the source water and the severity of the reading, the practical solution may involve carefully managed partial water replacement along with balancing pH and alkalinity. If there is existing scale on tile, a heater, or salt equipment, the safest treatment depends on the material and condition involved.
For new plaster or resurfaced pools, follow the startup plan provided for that specific finish. Calcium, pH, alkalinity, brushing, and circulation all need close attention during the early curing period. The goal is a durable surface, not just water that looks clear on day one.
Make calcium testing part of a calm routine
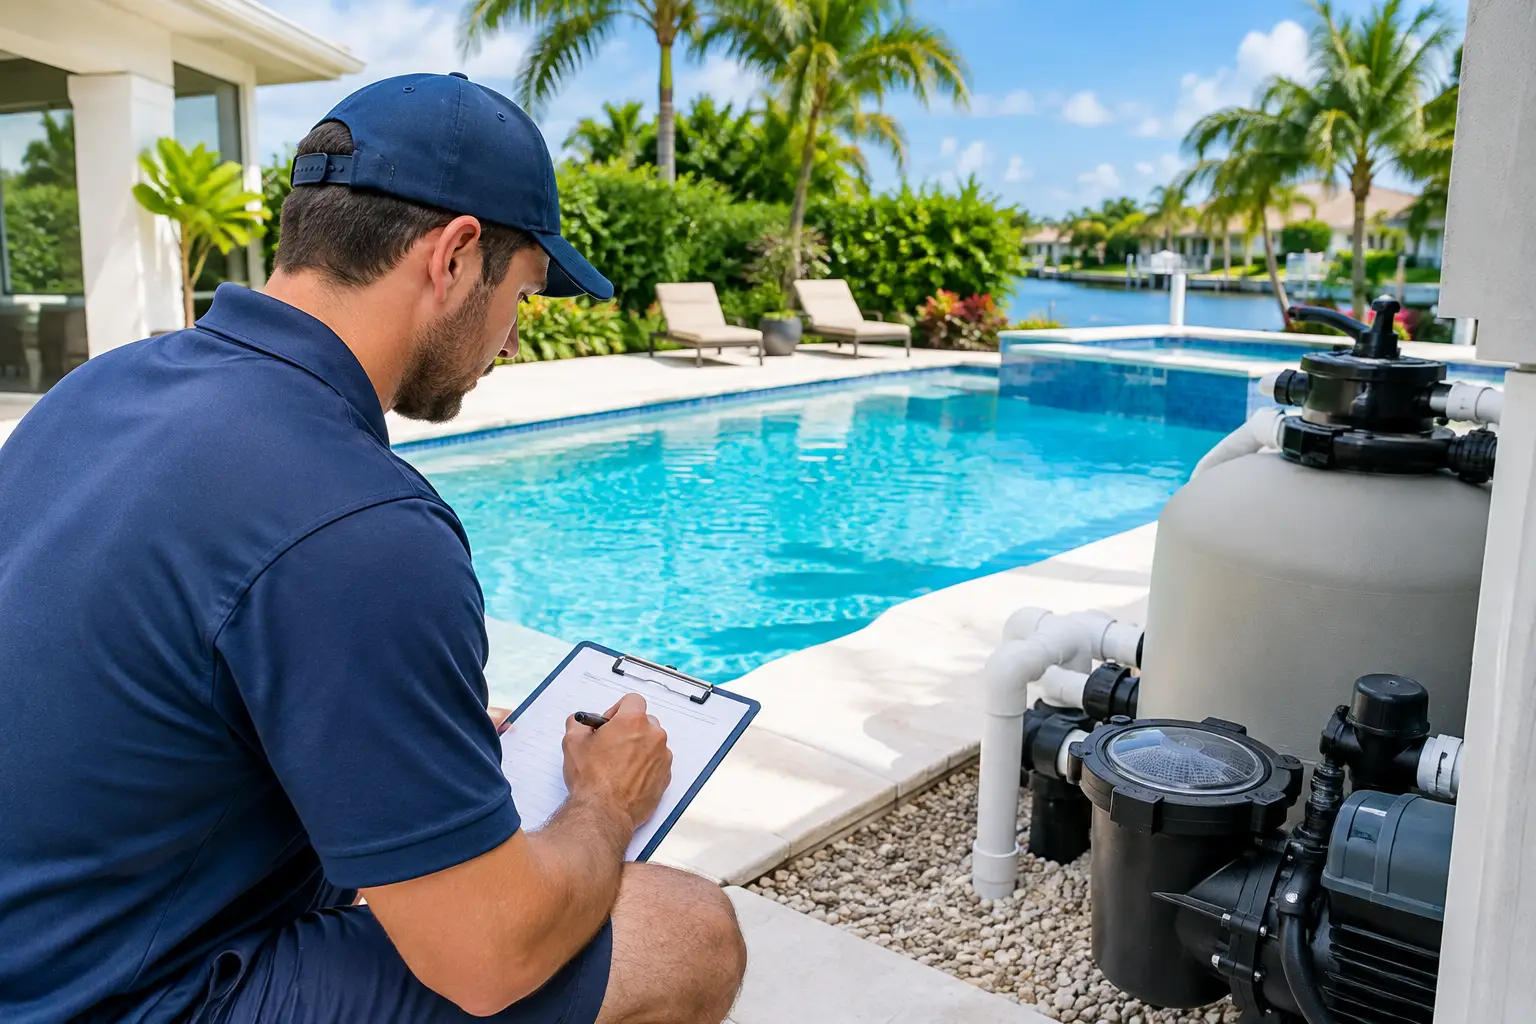
Keep a simple log of calcium hardness, pH, alkalinity, sanitizer, and any water added to the pool. After a few months, that record makes trends much easier to spot. You may find that calcium rises after a dry, hot stretch or that a particular fill source consistently changes your chemistry.
For homeowners who would rather spend the weekend in the pool than analysing drop counts, professional weekly care includes the benefit of regular water testing, chemistry adjustments, and an experienced eye on the equipment. Detailed service reporting also makes it easier to understand what was tested and why a correction was made.
A calcium test takes only a few minutes, but it helps protect the parts of your pool that are expensive and inconvenient to repair. Test consistently, interpret the result with the full chemistry picture in mind, and ask for help before a minor imbalance turns into scale, surface damage, or a preventable equipment problem.